[Get the best value meguiars headlight restoration kit on Amazon today!]
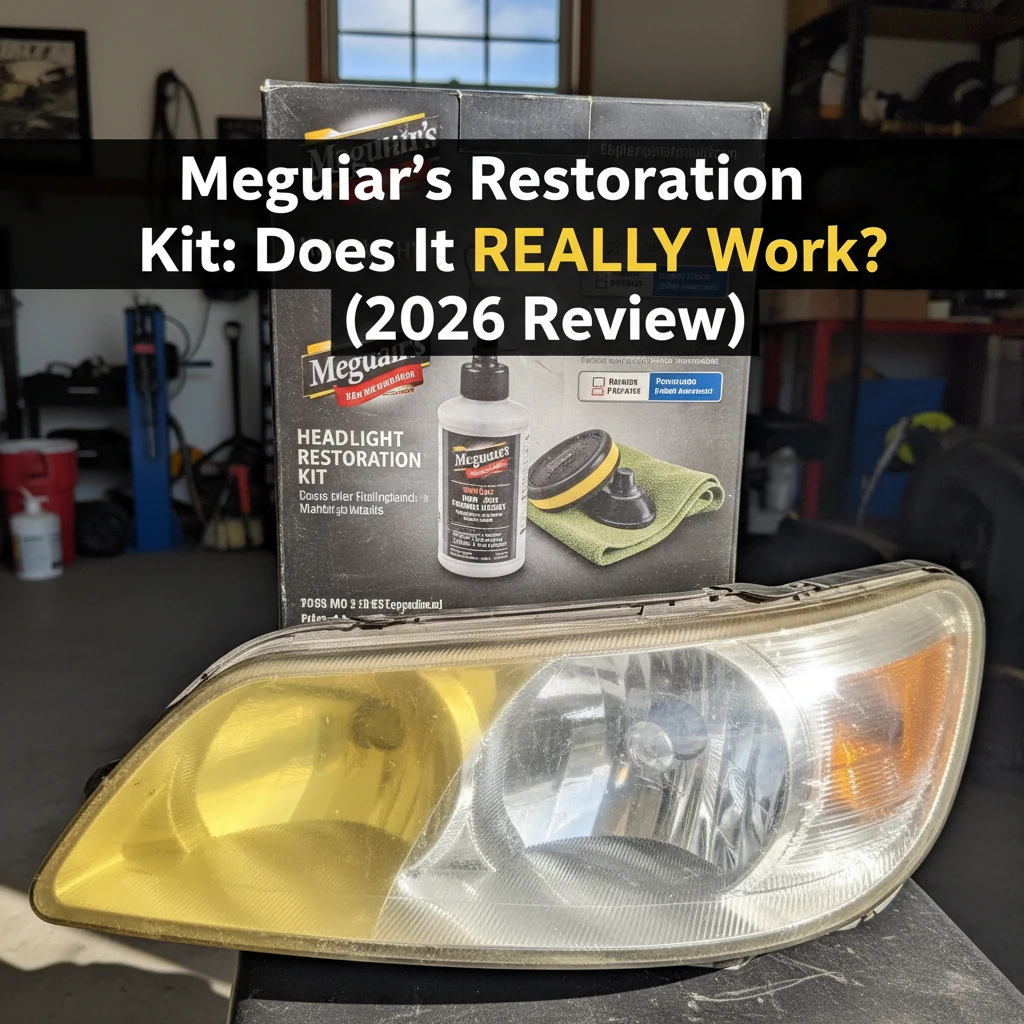
# Meguiar’s Headlight Restoration Kit: Does It REALLY Work? (2026 Review)
Cloudy, yellowed headlights are a real eyesore. Not only do they make your car look older and less appealing, but they also seriously impact your visibility at night, making driving more dangerous. You’ve probably seen the Meguiar’s Headlight Restoration Kit promising crystal-clear headlights with minimal effort. But does it *really* work, or is it just another gimmick?
In this 2026 review, we’re diving deep into the Meguiar’s Headlight Restoration Kit. We’ll cover everything from what’s included to the step-by-step process, the pros and cons, and ultimately, whether it lives up to the hype. By the end of this article, you’ll know if this kit is the right solution for your foggy headlights.
[Browse top-rated meguiars headlight restoration kit on Amazon]
## What’s Included in the Meguiar’s Headlight Restoration Kit?
The Meguiar’s Headlight Restoration Kit isn’t just a bottle of cleaner; it’s a comprehensive system designed to tackle even the most stubborn headlight oxidation. Here’s a breakdown of what you’ll find inside:
* **Meguiar’s PlastX Clear Plastic Cleaner & Polish:** This is the primary cleaning agent, formulated to remove light oxidation, cloudiness, and scratches from plastic surfaces.
* **Easy-Grip Hand Applicator Pad:** A comfortable and ergonomic pad designed to help you apply the PlastX evenly and efficiently.
* **Sandpaper Discs (various grits):** These discs are crucial for removing heavier oxidation and scratches. The kit typically includes multiple grits, ranging from coarse to fine, allowing you to gradually refine the surface.
* **Microfiber Towel:** For wiping away residue and polishing the headlights to a crystal-clear finish.
[Browse top-rated meguiars headlight restoration kit on Amazon]
## Step-by-Step Guide: Restoring Your Headlights with Meguiar’s Kit
Now, let’s get down to the nitty-gritty. Here’s a detailed step-by-step guide on how to use the Meguiar’s Headlight Restoration Kit to bring your headlights back to life:
### Step 1: Preparation is Key
Before you even open the kit, take some time to properly prepare your headlights. This will ensure the best possible results and prevent any damage to your car’s paint.
* **Wash Your Headlights:** Start by washing your headlights thoroughly with soap and water to remove any dirt, grime, or loose debris.
* **Mask Off Surrounding Areas:** Use painter’s tape to carefully mask off the areas around your headlights, protecting your car’s paint from accidental scratches or damage during the sanding process. Overlap the tape slightly onto the headlight lens for maximum protection.
### Step 2: Sanding Away the Oxidation
This is where the real magic happens. The sanding process removes the outer layer of oxidized plastic, revealing the clear, unblemished surface underneath.
* **Start with the Coarsest Grit:** Begin with the coarsest grit sandpaper disc included in the kit. Attach it to the hand applicator pad.
* **Wet Sanding Technique:** Wet the sandpaper disc and the headlight lens with water. This helps to lubricate the surface and prevent the sandpaper from clogging.
* **Sand in a Circular Motion:** Apply moderate pressure and sand the headlight lens in a circular motion, overlapping each pass. Focus on areas with heavy oxidation or scratches. Continue sanding until the entire surface appears uniformly hazy.
* **Repeat with Finer Grits:** Gradually work your way through the finer grit sandpaper discs, repeating the wet sanding process with each grit. This will refine the surface and remove any scratches left by the coarser grits. Remember to clean the lens thoroughly between each grit to remove any sanding residue.
### Step 3: Polishing for Clarity
Once you’ve sanded the headlights to a smooth, uniform finish, it’s time to polish them with Meguiar’s PlastX to restore their clarity and shine.
* **Apply PlastX:** Apply a small amount of Meguiar’s PlastX to the clean hand applicator pad.
* **Polish in a Circular Motion:** Rub the PlastX onto the headlight lens in a firm, circular motion, working it into the surface.
* **Buff to a Shine:** Allow the PlastX to dry for a few minutes, then use a clean microfiber towel to buff the headlight lens to a crystal-clear shine. Repeat this process as needed to achieve the desired level of clarity.
### Step 4: Protection is Paramount
Now that you’ve restored your headlights to their former glory, it’s important to protect them from future oxidation and damage.
* **Apply a UV Protectant:** Consider applying a UV protectant sealant specifically designed for plastic headlights. This will help to shield the headlights from the sun’s harmful UV rays, which are a major cause of oxidation.
* **Regular Cleaning:** Regularly wash and clean your headlights to remove dirt, grime, and other contaminants that can contribute to oxidation.
[Browse top-rated meguiars headlight restoration kit on Amazon]
## Tools for the Job: Enhancing Your Headlight Restoration
While the Meguiar’s Headlight Restoration Kit provides everything you need for basic headlight restoration, there are a few additional tools and products that can enhance the process and deliver even better results.
* **Drill Attachment:** While the kit includes a hand applicator pad, using a drill attachment can significantly speed up the polishing process and provide more consistent results. Look for a soft foam polishing pad designed for use with a drill. The **Meguiar’s DA Power System Headlight Restoration Kit** is a great option that includes a drill attachment and specialized polishing pads. The drill attachment allows for more even and faster polishing, reducing the amount of manual labor required.
* **Headlight Sealant:** As mentioned earlier, applying a headlight sealant after restoration is crucial for protecting your headlights from future oxidation. The **3M Headlight Lens Restoration System** includes a sealant that provides long-lasting protection against UV rays and other environmental factors. This helps to maintain the clarity of your headlights for a longer period.
[Browse top-rated meguiars headlight restoration kit on Amazon]
## Pro-Tips and FAQ: Mastering Headlight Restoration
Here are some pro-tips and frequently asked questions to help you get the most out of your Meguiar’s Headlight Restoration Kit:
* **Don’t Skip Grits:** It’s tempting to skip ahead to finer grits if you’re impatient, but this can actually prolong the sanding process and result in uneven results. Always work your way through each grit in sequence, ensuring that you’ve removed all scratches and imperfections before moving on.
* **Keep the Sandpaper Wet:** Wet sanding is essential for preventing the sandpaper from clogging and ensuring a smooth, even finish. Keep the sandpaper and the headlight lens consistently wet throughout the sanding process.
* **Apply Even Pressure:** When sanding and polishing, apply consistent, even pressure to the entire surface of the headlight lens. Avoid pressing too hard in one area, as this can create unevenness.
* **Work in a Well-Ventilated Area:** Always work in a well-ventilated area when using chemical products like PlastX.
**FAQ:**
* **How long does the restoration last?** The longevity of the restoration depends on several factors, including the quality of the UV protectant used and the environmental conditions in your area. Generally, you can expect the results to last for several months to a year.
* **Can I use this kit on other plastic surfaces?** Yes, Meguiar’s PlastX can be used on other clear plastic surfaces, such as motorcycle windscreens, boat windows, and plastic trim.
* **What if my headlights are severely damaged?** If your headlights are severely cracked or damaged, the Meguiar’s Headlight Restoration Kit may not be sufficient to fully restore them. In this case, you may need to consider replacing the headlights altogether.
[Browse top-rated meguiars headlight restoration kit on Amazon]
## The Final Verdict: Does Meguiar’s Headlight Restoration Kit REALLY Work?
So, after all that, does the Meguiar’s Headlight Restoration Kit actually deliver on its promises? The answer is a resounding **yes**. While it requires a bit of elbow grease and patience, this kit is a highly effective and affordable way to restore your headlights to their former glory.
The key is to follow the instructions carefully, take your time, and use the proper techniques. With a little effort, you can achieve professional-quality results and dramatically improve the appearance and safety of your vehicle.
The Meguiar’s Headlight Restoration Kit is a solid investment for anyone looking to restore their headlights without breaking the bank. It’s a cost-effective alternative to professional headlight restoration services and a great way to improve your car’s appearance and visibility. Grab a kit today and see the difference for yourself! You will not be disappointed.
[Check the latest prices and deals for meguiars headlight restoration kit on Amazon today!]