[Get the best value coat with wax on Amazon today!]
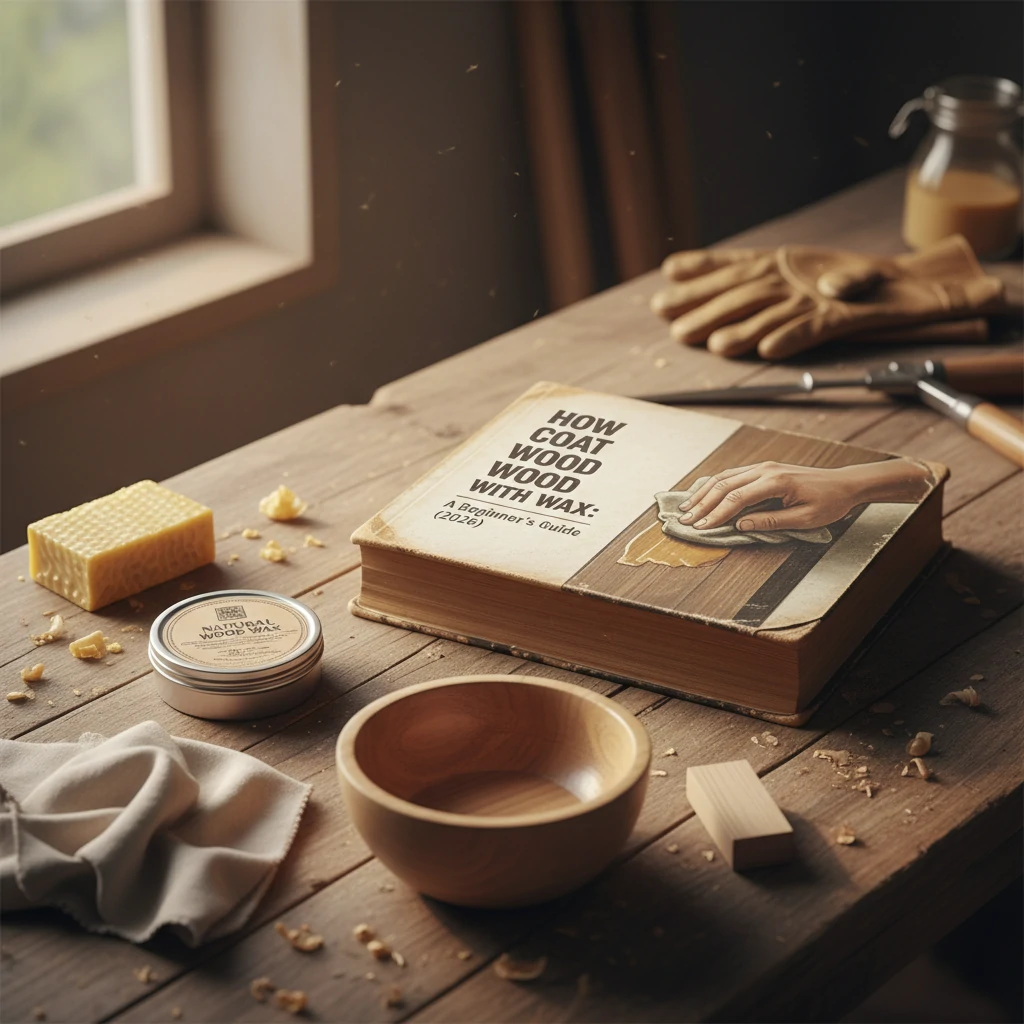
# How to Coat Wood with Wax: A Beginner’s Guide (2026)
So, you’re looking to give your wood projects that beautiful, protective, and oh-so-smooth wax finish? You’ve come to the right place! Coating wood with wax is a fantastic way to enhance its natural beauty, add a layer of protection, and give it a luxurious feel. And the best part? It’s a project that’s totally achievable for beginners.
In this guide, we’ll walk you through every step of the process, from prepping your wood to applying the wax and buffing it to a gorgeous sheen. By the end, you’ll have the confidence and knowledge to coat wood with wax like a pro. Let’s dive in!
### Step 1: Gather Your Supplies
Before you start, it’s important to have all your materials ready. This will make the process smoother and more enjoyable. Here’s what you’ll need to coat wood with wax:
* **Wood Wax:** We’ll talk more about different types of wax later, but for beginners, a paste wax is a great option. Look for waxes specifically designed for wood furniture or woodworking projects.
* **Clean, Lint-Free Cloths:** You’ll need several of these. Old t-shirts or microfiber cloths work well.
* **Sandpaper (Various Grits):** Start with a coarser grit (around 120) and work your way up to a finer grit (around 220 or 320). This ensures a smooth surface for the wax to adhere to.
* **Wood Filler (Optional):** If your wood has any imperfections, wood filler will help you create a flawless finish.
* **Application Brush or Cloth:** For applying the wax. A small brush can be helpful for getting into corners and details.
* **Buffing Brush or Cloth:** For buffing the wax to a shine. A horsehair brush is ideal, but a soft, clean cloth will also work.
* **Safety Glasses and Dust Mask:** Protect your eyes and lungs from dust and fumes.
### Step 2: Prepare the Wood Surface
Proper preparation is key to a successful wax finish. This step ensures the wax adheres properly and that you achieve a smooth, even coat.
1. **Sanding:** Start by sanding the wood surface with the coarser grit sandpaper (120). This will remove any imperfections, scratches, or old finishes. Sand in the direction of the grain to avoid creating unsightly marks.
2. **Filling Imperfections (Optional):** If you notice any holes, dents, or cracks, apply wood filler according to the manufacturer’s instructions. Let it dry completely and then sand it smooth with the surrounding wood.
3. **Progressively Finer Sanding:** Once the wood is smooth, move on to a medium grit sandpaper (around 180) to refine the surface. Finally, use a fine grit sandpaper (220 or 320) to create an ultra-smooth finish.
4. **Remove Dust:** After sanding, thoroughly remove all dust from the wood surface. Use a vacuum cleaner with a brush attachment followed by a tack cloth. Even the smallest dust particles can interfere with the wax finish.
### Step 3: Apply the Wood Wax
Now comes the fun part – applying the wax! This step requires a bit of patience and attention to detail.
1. **Apply a Thin Coat:** Using a clean cloth or application brush, apply a *thin* coat of wax to the wood surface. Work in small sections, following the grain of the wood. It’s better to apply multiple thin coats than one thick coat, as thick coats can be difficult to buff and may result in a sticky finish.
2. **Work the Wax In:** As you apply the wax, use a circular motion to work it into the wood grain. This helps the wax penetrate the wood and provides better protection.
3. **Allow to Dry:** Let the wax dry according to the manufacturer’s instructions. This usually takes between 15-30 minutes, but it’s always best to check the product label. The wax should appear slightly hazy when it’s ready to buff.
### Step 4: Buff the Wax to a Shine
Buffing is what brings out the beautiful luster of the wax finish. This step requires a bit of elbow grease, but the results are well worth the effort.
1. **Buff with a Clean Cloth or Brush:** Using a clean, lint-free cloth or a buffing brush, buff the waxed surface in a circular motion. Apply moderate pressure and continue buffing until the wax is smooth and shiny.
2. **Remove Excess Wax:** As you buff, you’ll notice some excess wax coming off the surface. This is normal. Simply wipe it away with a clean section of your cloth.
3. **Repeat Buffing (Optional):** For an even higher sheen, you can repeat the buffing process with a fresh, clean cloth.
### Step 5: Apply Additional Coats (Optional)
For added protection and durability, you can apply additional coats of wax. Follow the same steps as above, allowing each coat to dry completely before buffing. Two or three coats are usually sufficient for most projects.
[Browse top-rated coat with wax on Amazon]
## Tools for the Job: Recommended Products
While the process of coating wood with wax is fairly straightforward, having the right tools can make a world of difference. Here are a couple of products that can help you achieve professional-looking results:
* **Howard Feed-N-Wax Wood Preserver:** This product is a combination of beeswax, carnauba wax, and orange oil. It not only protects the wood but also nourishes it, preventing it from drying out and cracking. The orange oil helps to dissolve old wax buildup and revitalize the wood’s natural color. It’s easy to apply and buff, making it a great choice for beginners. The Howard Feed-N-Wax’s **unique blend of ingredients** ensures that your wood is not only protected but also looks its best.
* **Minwax Paste Finishing Wax:** This is a classic choice for wood finishing. It provides a durable, protective coating that enhances the wood’s natural beauty. The paste wax is easy to apply and buff, and it dries to a hard, long-lasting finish. The Minwax Paste Finishing Wax is perfect for furniture, cabinets, and other woodworking projects. The **long-lasting finish** protects your wood for years to come.
[Browse top-rated coat with wax on Amazon]
## Pro-Tips / FAQ Section
**Q: How do I choose the right type of wax?**
A: There are several types of wax available, including paste wax, liquid wax, and wax sticks. Paste wax is a good all-around choice for beginners, as it’s easy to apply and buff. Liquid wax is thinner and easier to apply to large surfaces, while wax sticks are ideal for filling small cracks and imperfections. Consider the type of project you’re working on and the level of protection you need when choosing a wax.
**Q: Can I wax over existing finishes?**
A: Yes, you can usually wax over existing finishes, such as varnish or polyurethane. However, it’s important to make sure the existing finish is clean and in good condition. If the finish is cracked or peeling, you’ll need to strip it off before applying wax.
**Q: How often should I reapply wax?**
A: The frequency of reapplication depends on how often the wood is used and the level of protection it needs. For furniture that gets daily use, you may need to reapply wax every few months. For decorative items, you may only need to reapply wax once a year.
**Q: What’s the best way to clean waxed wood?**
A: To clean waxed wood, simply dust it regularly with a soft cloth. For more stubborn dirt, you can use a damp cloth with a mild soap solution. Avoid using harsh chemicals or abrasive cleaners, as these can damage the wax finish.
**Pro Tip:** Always test the wax on an inconspicuous area of the wood before applying it to the entire surface. This will help you ensure that the wax is compatible with the wood and that you’re happy with the results.
[Browse top-rated coat with wax on Amazon]
## Encouraging Conclusion
Congratulations! You’ve now learned how to coat wood with wax like a true beginner-friendly woodworker. By following these simple steps, you can protect your wood projects, enhance their natural beauty, and give them a luxurious feel. Don’t be afraid to experiment with different types of wax and techniques to find what works best for you. With a little practice, you’ll be coating wood with wax like a pro in no time! Now go forth and create some beautiful, waxed masterpieces!
[Check the latest prices and deals for coat with wax on Amazon today!]