[Get the best value bead wax on Amazon today!]
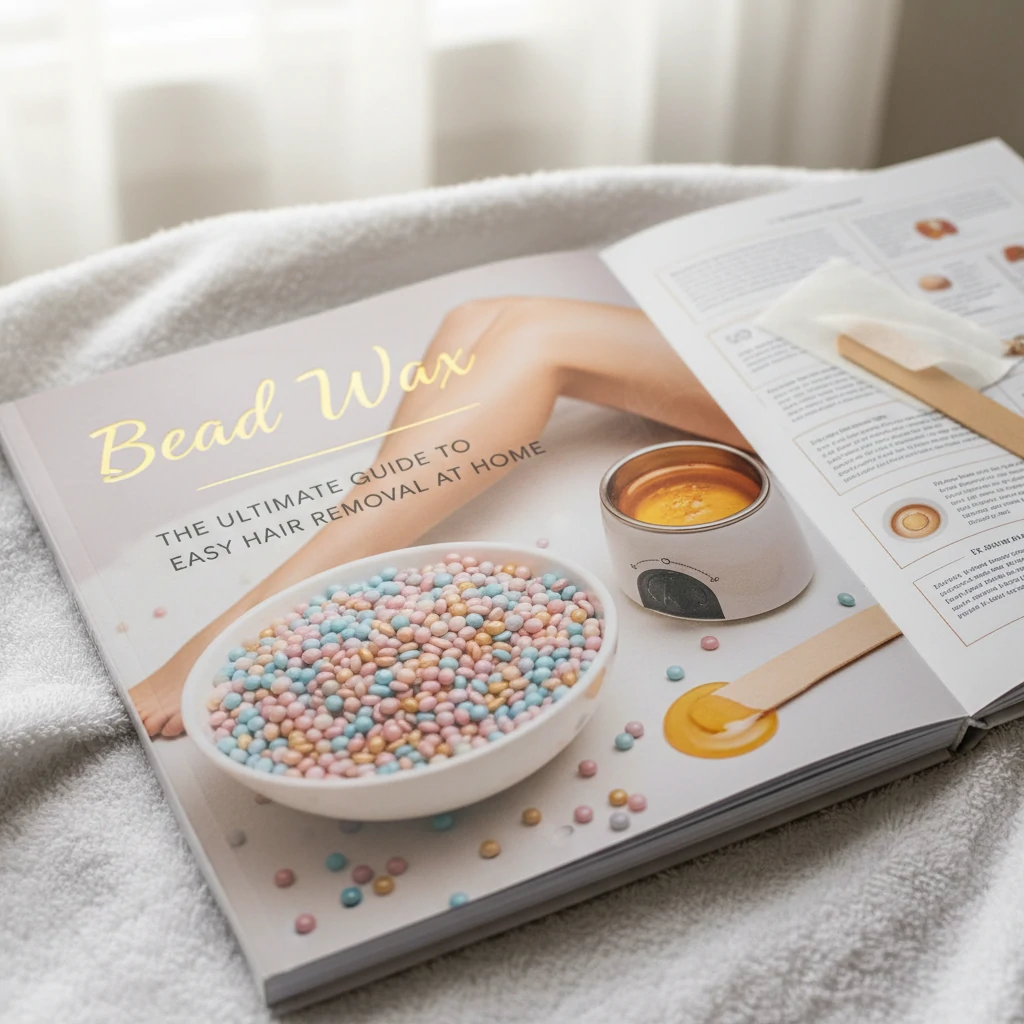
# Bead Wax: The Ultimate Guide to Easy Hair Removal at Home
Hey there! Tired of expensive salon visits and messy at-home waxing kits? You’re in the right place. This guide will walk you through everything you need to know about **bead wax**, the secret weapon for achieving smooth, hair-free skin in the comfort of your own home. We’ll cover the benefits, the process, and even recommend some of our favorite products. Get ready to say goodbye to unwanted hair and hello to silky-smooth skin!
[Browse top-rated bead wax on Amazon]
## Why Choose Bead Wax for Hair Removal?
So, what makes **bead wax** so special? Unlike traditional wax strips or messy liquid waxes, **bead wax** offers a ton of advantages for at-home hair removal. Here’s a breakdown of why it’s becoming a go-to for DIY enthusiasts:
* **Easy to Use:** **Bead wax** melts easily and evenly, making it simple to apply. No more struggling with unevenly heated wax!
* **Precise Application:** The beads allow you to melt only what you need, reducing waste. Plus, you can target specific areas with precision, making it perfect for smaller areas like the eyebrows or bikini line.
* **Effective Hair Removal:** **Bead wax** grips the hair firmly, removing it from the root. This leads to longer-lasting results compared to shaving.
* **Less Painful:** Many people find **bead wax** less painful than traditional waxing methods because it adheres to the hair, not the skin.
* **Versatile:** **Bead wax** can be used on various parts of the body, including the face, legs, arms, and bikini area.
* **Cost-Effective:** Once you have the basic equipment (wax warmer and applicator sticks), **bead wax** is a relatively inexpensive hair removal option compared to regular salon visits.
[Browse top-rated bead wax on Amazon]
## Step-by-Step Guide to Using Bead Wax at Home
Ready to give **bead wax** a try? Here’s a step-by-step guide to achieving salon-worthy results without leaving your house:
### Step 1: Gather Your Supplies
Before you start, make sure you have everything you need:
* **Bead Wax:** Choose a high-quality **bead wax** that’s suitable for your skin type. More on this later!
* **Wax Warmer:** A wax warmer is essential for melting the **bead wax** to the correct temperature.
* **Applicator Sticks:** You’ll need wooden or plastic applicator sticks to apply the wax.
* **Pre-Wax Cleanser:** This will remove any oil, dirt, or makeup from your skin, allowing the wax to adhere properly.
* **Post-Wax Oil:** This will soothe your skin and remove any wax residue.
* **Tweezers:** For any stray hairs that the wax doesn’t remove.
* **Scissors (Optional):** If your hair is longer than 1/2 inch, trim it down for better results.
### Step 2: Prepare Your Skin
Cleanliness is key! Use a pre-wax cleanser to thoroughly cleanse the area you’ll be waxing. This removes oils and debris, allowing the **bead wax** to grip the hair effectively. Pat your skin dry with a clean towel.
### Step 3: Melt the Bead Wax
Pour the desired amount of **bead wax** into your wax warmer. Follow the manufacturer’s instructions to set the temperature. The wax should melt to a honey-like consistency. Stir occasionally to ensure even heating.
### Step 4: Test the Wax Temperature
Before applying the **bead wax** to your skin, test the temperature on a small area, like the inside of your wrist. The wax should be warm, but not hot enough to burn you. If it’s too hot, let it cool down for a few minutes.
### Step 5: Apply the Bead Wax
Using an applicator stick, apply a thick, even layer of **bead wax** in the direction of hair growth. Make sure to create a small “lip” at the end of the wax strip – this will make it easier to grip when you’re ready to remove it.
### Step 6: Let the Wax Cool and Harden
Allow the **bead wax** to cool and harden completely. This usually takes a few seconds to a minute, depending on the thickness of the wax and the temperature of the room. The wax should no longer be sticky to the touch.
### Step 7: Remove the Bead Wax
Hold your skin taut with one hand and grip the “lip” of the wax strip with the other. Pull the wax off quickly and firmly in the opposite direction of hair growth. Try to keep the wax strip close to your skin as you pull to minimize discomfort.
### Step 8: Soothe Your Skin
After waxing, apply a post-wax oil to soothe your skin and remove any wax residue. Avoid touching the waxed area for a few hours to prevent irritation.
### Step 9: Repeat (If Necessary)
If you missed any hairs, you can repeat the process on those areas. However, avoid waxing the same area more than once in a single session to prevent skin irritation. Use tweezers to remove any stubborn hairs.
[Browse top-rated bead wax on Amazon]
## Tools for the Job: Recommended Bead Wax and Warmers
To make your at-home waxing experience even easier, here are a few product recommendations:
### GiGi Brazilian Bikini Waxing Kit
This kit is a great starting point for beginners. It includes **bead wax** specifically formulated for sensitive areas like the bikini line, as well as pre- and post-wax treatments. The **bead wax** is known for its gentle formula and effective hair removal. The key feature is its ability to grip even the shortest, most stubborn hairs. This is why we recommend it for those new to **bead wax** – it simplifies the learning process.
### KoluaWax Painless Hair Removal Wax Beans
If you have sensitive skin, these wax beans are a great option. They’re made with natural ingredients and are designed to minimize irritation. The key feature is the chamomile extract that soothes the skin during and after the waxing process. This is why we recommend it for those with easily irritated skin, as it helps reduce redness and discomfort.
### Wax Necessities Professional Wax Warmer
A reliable wax warmer is essential for melting your **bead wax** to the perfect temperature. This model features adjustable temperature settings and a removable pot for easy cleaning. The key feature is its precise temperature control, allowing you to melt the **bead wax** consistently and safely. This is why we recommend it for both beginners and experienced users, as it ensures optimal wax consistency for effective hair removal.
[Browse top-rated bead wax on Amazon]
## Pro-Tips for a Flawless Bead Wax Experience
* **Exfoliate Regularly:** Exfoliating your skin a few days before waxing helps remove dead skin cells and prevent ingrown hairs.
* **Trim Long Hair:** If your hair is longer than 1/2 inch, trim it down for better results.
* **Don’t Wax Over Irritated Skin:** Avoid waxing over sunburned, irritated, or broken skin.
* **Avoid Sun Exposure:** After waxing, avoid sun exposure for 24-48 hours to prevent hyperpigmentation.
* **Moisturize Regularly:** Keep your skin moisturized to prevent dryness and ingrown hairs.
* **Be Patient:** It may take a few tries to master the art of **bead wax**. Don’t get discouraged if you don’t get perfect results the first time.
[Browse top-rated bead wax on Amazon]
## FAQ About Bead Wax
**Q: How often should I wax?**
A: You can wax every 3-6 weeks, depending on how quickly your hair grows.
**Q: Can I use bead wax on my face?**
A: Yes, **bead wax** can be used on the face, but it’s important to choose a wax that’s specifically formulated for facial hair.
**Q: Is bead wax safe for sensitive skin?**
A: Yes, but it’s important to choose a **bead wax** that’s designed for sensitive skin and to follow the instructions carefully. Always do a patch test before waxing a large area.
**Q: How do I prevent ingrown hairs?**
A: Exfoliate regularly and moisturize your skin to prevent ingrown hairs. You can also use an ingrown hair treatment.
**Q: What if the wax is too sticky?**
A: If the wax is too sticky, it’s probably not cool enough. Let it cool down for a few more seconds before removing it.
[Browse top-rated bead wax on Amazon]
## Encouraging Conclusion
There you have it! Everything you need to know to achieve smooth, hair-free skin with **bead wax** at home. With a little practice, you’ll be a pro in no time. Say goodbye to expensive salon visits and hello to the convenience and affordability of at-home waxing. So go ahead, give it a try, and enjoy the confidence that comes with silky-smooth skin! You’ve got this!
[Check the latest prices and deals for bead wax on Amazon today!]