[Get the best value auto headlight restoration on Amazon today!]
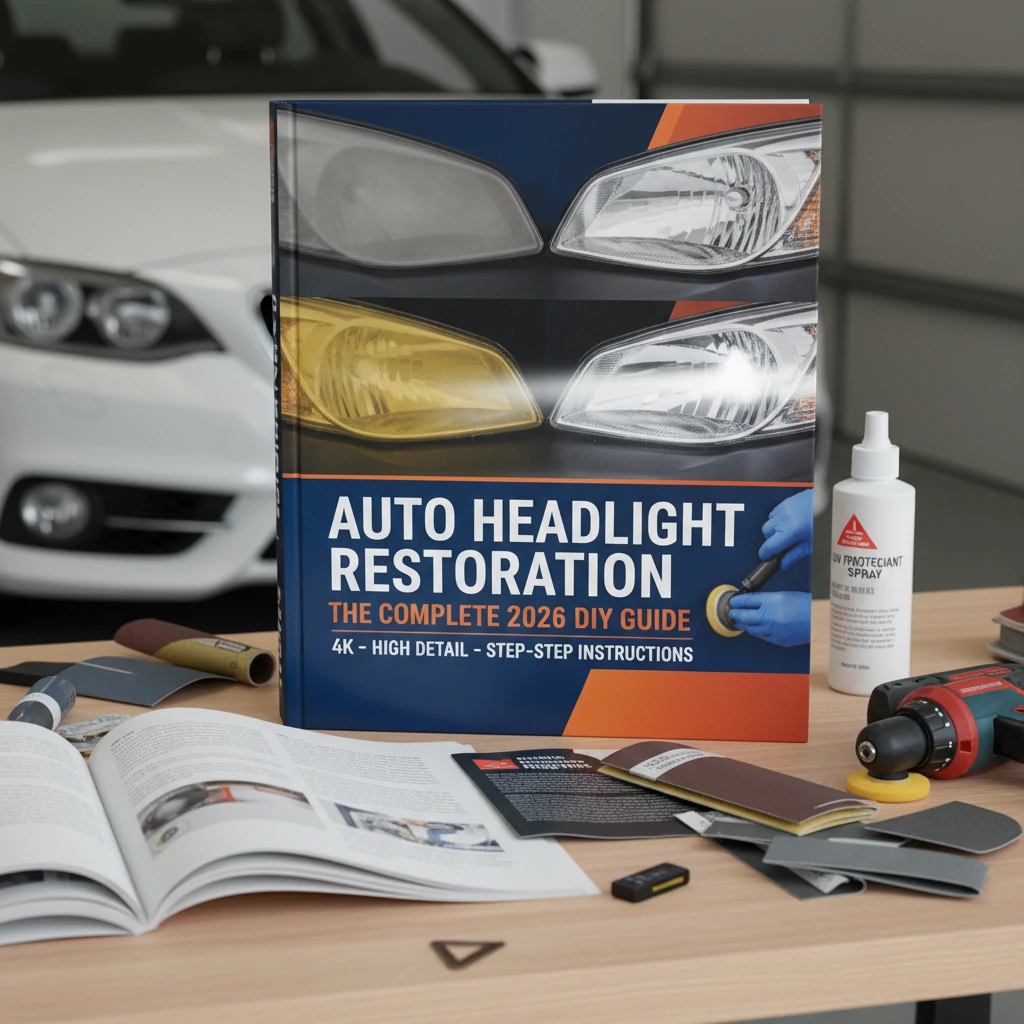
# Auto Headlight Restoration: The Complete 2026 DIY Guide
Is your car looking a little… tired? Faded, yellowed headlights can drastically age a vehicle, not to mention significantly reduce your nighttime visibility. But don’t worry, you don’t need to spend a fortune at a body shop! This 2026 guide will walk you through the entire process of auto headlight restoration, step-by-step, so you can achieve professional-looking results right in your own driveway. We’ll cover everything from choosing the right supplies to mastering the techniques, ensuring your headlights shine bright for years to come. Get ready to revitalize your ride and improve your safety with this complete DIY auto headlight restoration guide!
[Browse top-rated auto headlight restoration on Amazon]
## Step 1: Gather Your Supplies
Before you dive in, it’s crucial to have everything you need on hand. This will make the process smoother and prevent frustrating interruptions. Here’s a comprehensive list of what you’ll need for effective auto headlight restoration:
* **Headlight Restoration Kit:** This is your all-in-one solution and often includes multiple grades of sandpaper, polishing compound, sealant, and applicators. We’ll recommend a specific kit later, but look for one with good reviews and a variety of sandpaper grits.
* **Masking Tape:** Essential for protecting your car’s paint around the headlights. Use a high-quality automotive masking tape for best results.
* **Spray Bottle with Water:** This will be used to keep the sandpaper wet during the sanding process.
* **Microfiber Towels:** For cleaning and buffing the headlights.
* **Gloves:** Protect your hands from chemicals and abrasive materials.
* **Optional: UV Protectant Spray or Headlight Sealant:** To further protect your newly restored headlights from future yellowing and oxidation.
* **Optional: Drill with Polishing Pad Attachment:** This can speed up the polishing process, but it’s not essential.
[Browse top-rated auto headlight restoration on Amazon]
## Step 2: Prepare the Headlights
Proper preparation is key to a successful auto headlight restoration. This step involves cleaning the headlights and masking off the surrounding area to protect your car’s paint.
1. **Clean the Headlights:** Thoroughly wash the headlights with soap and water to remove any dirt, grime, or debris. Dry them completely with a microfiber towel.
2. **Mask Off the Surrounding Area:** Apply masking tape around the headlights, ensuring that you cover all the paint that could potentially be scratched during the sanding process. Use multiple layers of tape for extra protection. Overlap the tape slightly to prevent any gaps.
[Browse top-rated auto headlight restoration on Amazon]
## Step 3: Sanding the Headlights
This is the most crucial step in auto headlight restoration, as it removes the oxidized and yellowed layer from the headlight lens. It’s important to be patient and thorough during this process.
1. **Start with the Coarsest Grit Sandpaper:** Begin with the coarsest grit sandpaper included in your headlight restoration kit (usually around 400-600 grit). Wet the sandpaper and the headlight with water from your spray bottle.
2. **Sand in a Consistent Pattern:** Sand the headlight in a back-and-forth motion, applying even pressure. Make sure to keep the sandpaper and the headlight wet throughout the sanding process. This will help to prevent the sandpaper from clogging and scratching the lens.
3. **Move to Finer Grits:** After sanding with the coarsest grit for a few minutes, move to the next finer grit sandpaper (usually around 800-1000 grit). Repeat the sanding process, ensuring that you remove the scratches left by the previous grit.
4. **Continue with the Finest Grit:** Continue sanding with progressively finer grits of sandpaper, working your way up to the finest grit included in your kit (usually around 2000-3000 grit). With each grit, make sure to remove the scratches left by the previous grit. The headlight lens should start to appear smoother and clearer as you progress.
5. **Rinse and Dry:** After sanding with the finest grit, rinse the headlight thoroughly with water and dry it with a microfiber towel.
[Browse top-rated auto headlight restoration on Amazon]
## Step 4: Polishing the Headlights
Polishing removes the fine scratches left by the sanding process and restores the clarity of the headlight lens.
1. **Apply Polishing Compound:** Apply a small amount of polishing compound to a clean microfiber towel or a polishing pad attached to a drill.
2. **Polish the Headlight:** If using a microfiber towel, rub the polishing compound onto the headlight in a circular motion, applying moderate pressure. If using a drill with a polishing pad, use a low speed and apply even pressure.
3. **Buff the Headlight:** After polishing, buff the headlight with a clean microfiber towel to remove any remaining polishing compound and reveal the clarity of the lens.
[Browse top-rated auto headlight restoration on Amazon]
## Step 5: Protecting the Headlights
Protecting the headlights after restoration is crucial to prevent future yellowing and oxidation.
1. **Apply UV Protectant Spray or Headlight Sealant:** Apply a UV protectant spray or headlight sealant according to the manufacturer’s instructions. This will create a protective layer that shields the headlights from the sun’s harmful UV rays.
2. **Allow to Cure:** Allow the UV protectant spray or headlight sealant to cure completely before exposing the headlights to the elements.
[Browse top-rated auto headlight restoration on Amazon]
## Tools for the Job
While many headlight restoration kits offer great results, some stand out due to their quality and ease of use. Here are a couple of recommendations, focusing on features that simplify the DIY process:
**Meguiar’s Heavy Duty Headlight Restoration Kit:** This kit is fantastic for severely oxidized headlights. It includes a powerful abrasive compound and multiple sanding pads, along with a drill-operated buffing pad.
* **Key Features:** The included drill attachment significantly reduces the effort required for polishing. The abrasive compound is effective at removing heavy oxidation.
* **Why We Like It:** The drill attachment makes the process much faster and easier. The results are consistently impressive, even on heavily damaged headlights.
**3M Headlight Restoration Kit:** This kit is known for its ease of use and durability. It includes a sanding block, multiple sanding pads, polishing compound, and a foam applicator.
* **Key Features:** The sanding block provides a comfortable and controlled grip. The polishing compound is effective at removing fine scratches and restoring clarity. The included masking tape is high quality and provides excellent protection.
* **Why We Like It:** The sanding block makes it easier to apply even pressure during sanding. The results are long-lasting, thanks to the durable polishing compound.
[Browse top-rated auto headlight restoration on Amazon]
## Pro Tips / FAQ Section
**Q: How often should I restore my headlights?**
A: It depends on the climate you live in and how often your car is exposed to the sun. Generally, you should restore your headlights every 1-2 years. Applying a UV protectant spray or headlight sealant regularly can help to extend the life of your restoration.
**Q: Can I use toothpaste to restore my headlights?**
A: While toothpaste can provide a temporary improvement in clarity, it’s not a long-term solution. Toothpaste is mildly abrasive and can remove some of the oxidation, but it doesn’t provide the same level of correction as a dedicated headlight restoration kit.
**Q: What if my headlights are cracked or deeply damaged?**
A: If your headlights are cracked or deeply damaged, restoration may not be possible. In this case, you may need to replace the headlights entirely.
**Q: Can I restore my headlights on a sunny day?**
A: It’s best to restore your headlights in a shaded area or on a cloudy day. Direct sunlight can cause the polishing compound to dry out too quickly, making it difficult to buff the headlights properly.
**Pro Tip:** After restoring your headlights, consider applying a ceramic coating for added protection and shine. Ceramic coatings provide a durable, hydrophobic layer that helps to repel water, dirt, and UV rays.
[Browse top-rated auto headlight restoration on Amazon]
## Encouraging Conclusion
Congratulations! You’ve successfully restored your auto headlights and given your car a fresh, new look. By following these steps, you’ve not only improved the appearance of your vehicle but also enhanced your safety on the road. Remember to regularly clean and protect your headlights to maintain their clarity and prevent future yellowing. With a little effort, you can keep your headlights shining bright for years to come! Don’t be intimidated by the process; with the right tools and a bit of patience, anyone can achieve professional-looking results with DIY auto headlight restoration. Now, go out there and enjoy the improved visibility and the compliments on your revitalized ride!
[Check the latest prices and deals for auto headlight restoration on Amazon today!]